This was a quick project created in collaboration with @leocadiotine at Hacker School. Hacker School is a free three–month self–directed learning environment that has been described as being “like a writers’ retreat for programmers.”
Thanks go to @sashalaundy for the introduction to the Twilio API that sparked the idea.
Overview
 The Hacker School space for our batch had two restrooms: one attached to the main work area, and one downstairs.
We thought it would nice to know if the bathroom is occupied before taking the time to walk down.
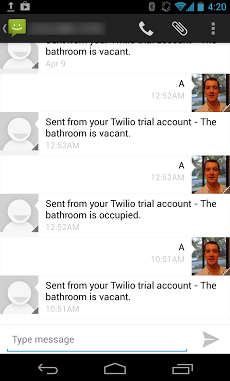
Our project makes it possible to check the bathroom status by phone or text message.
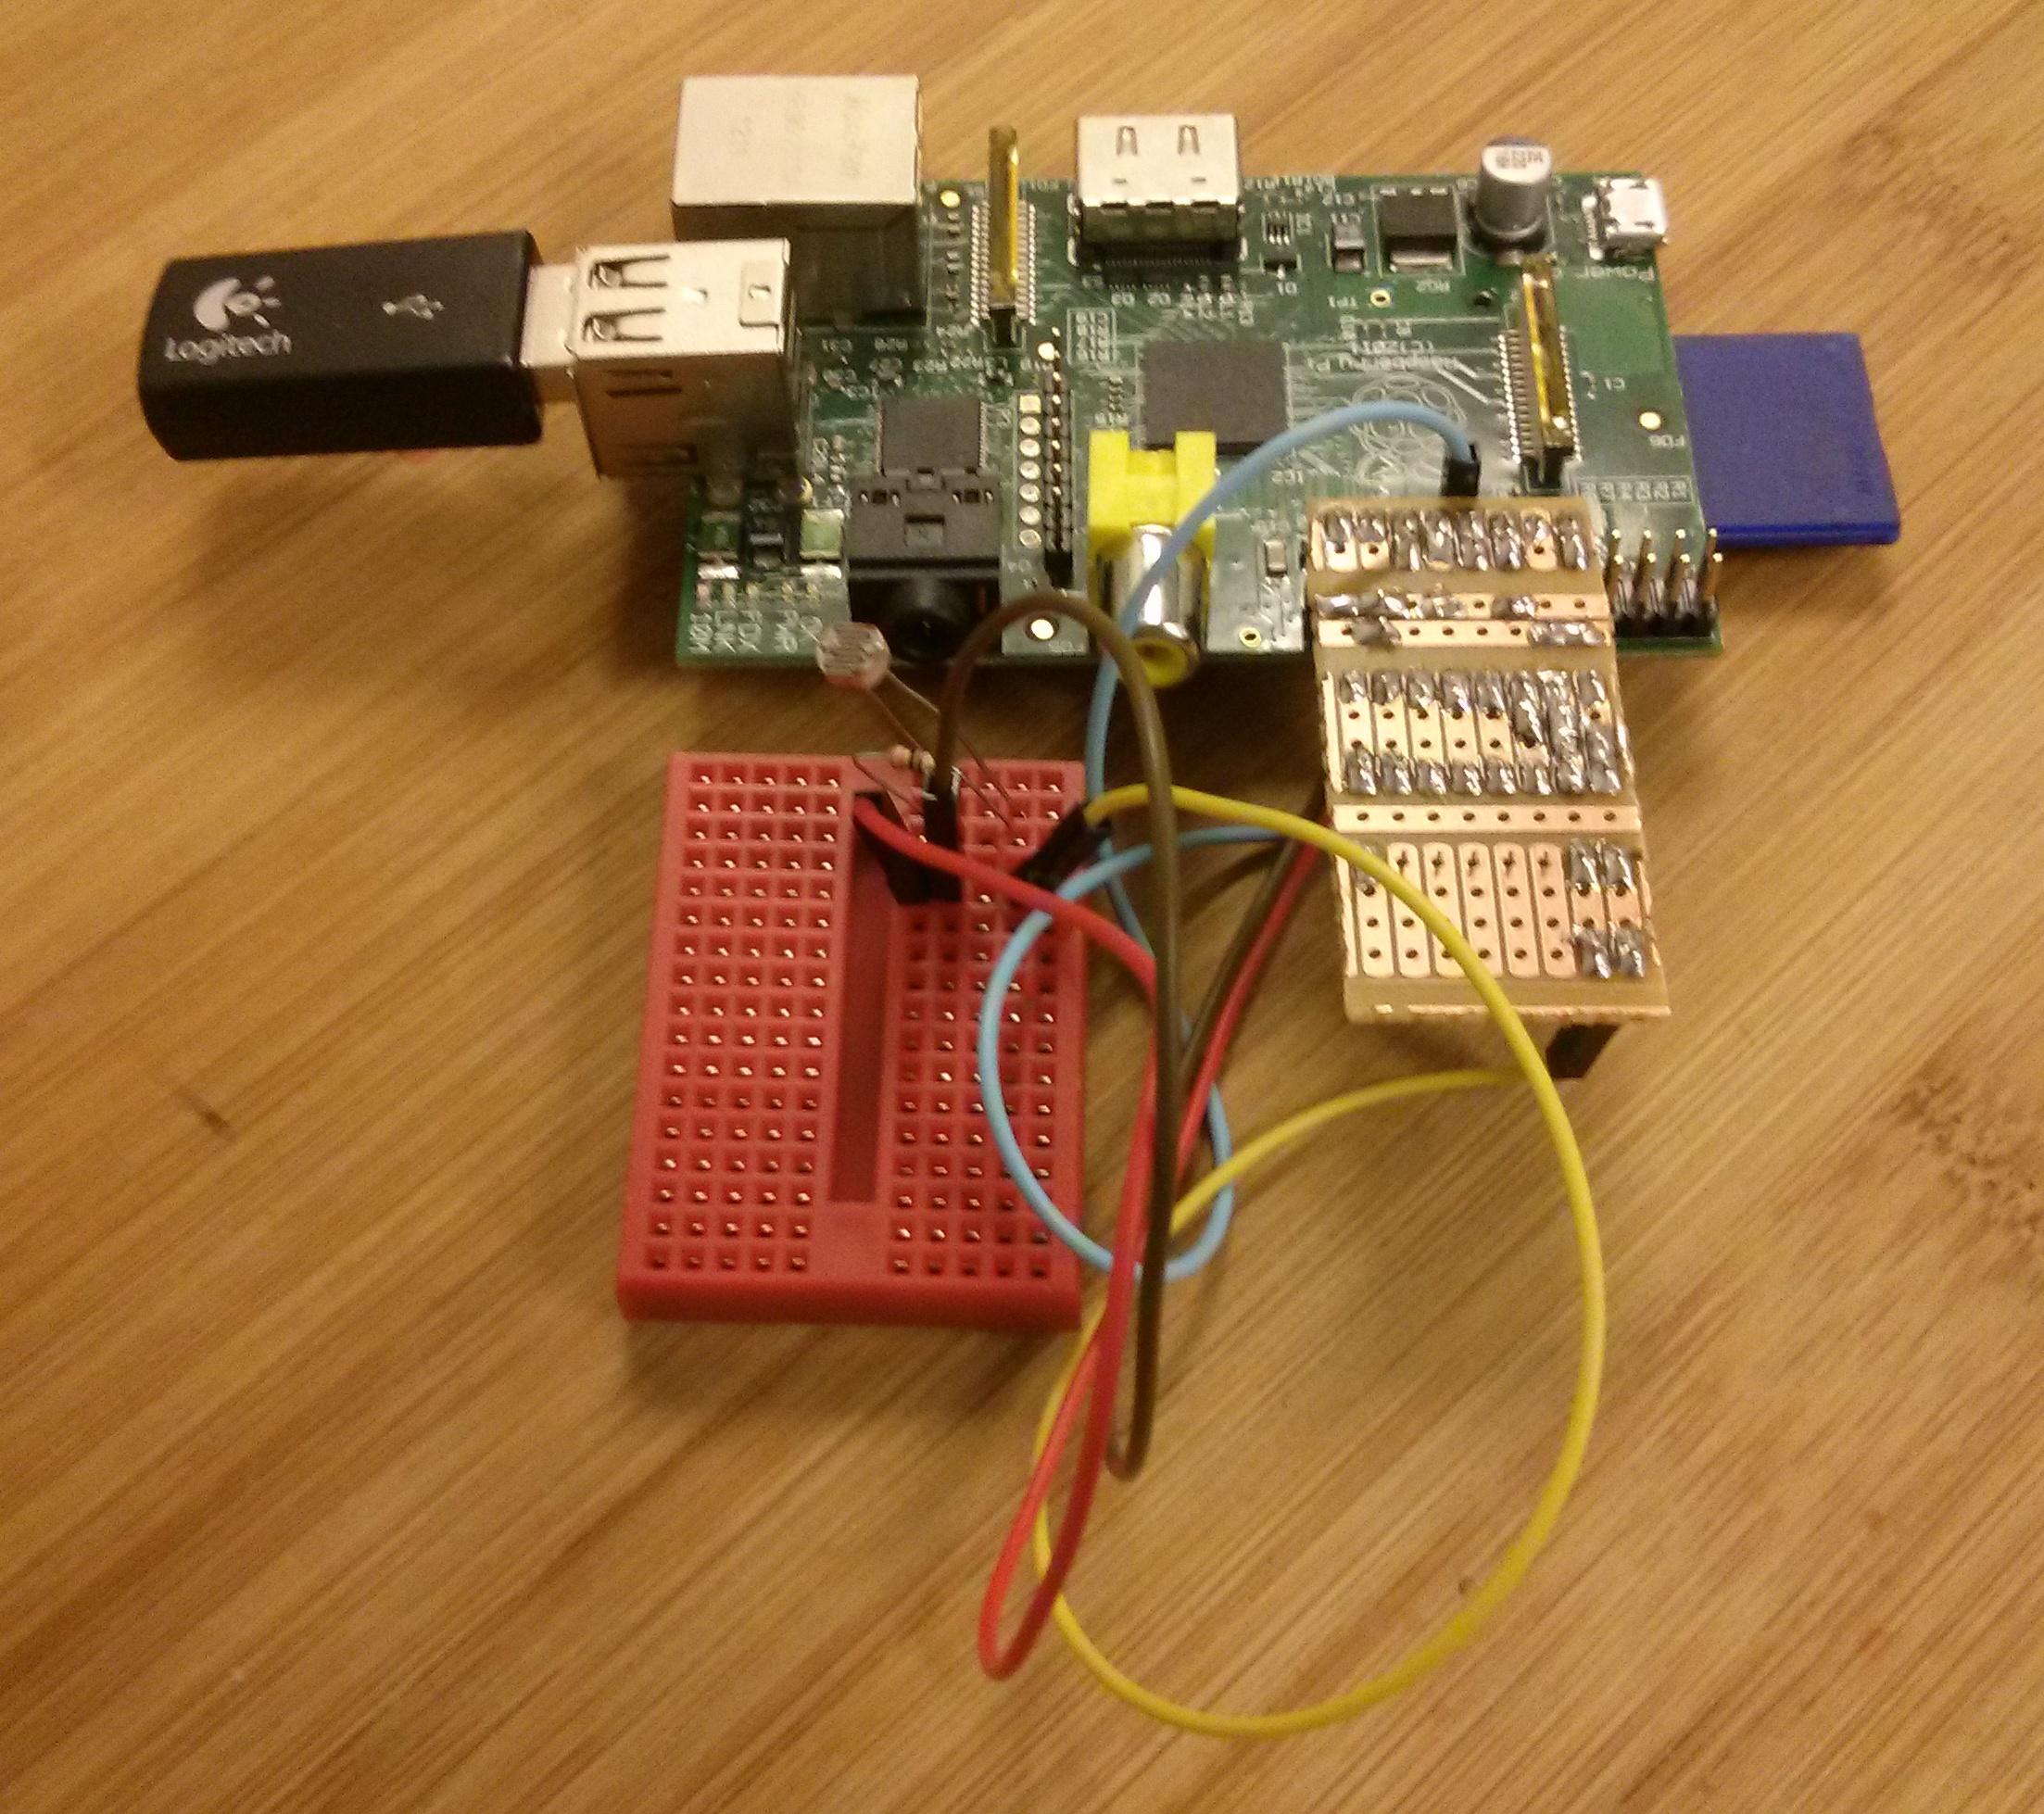
Bathroom occupancy status is determined using a light sensor attached to a Raspberry Pi. If the lights are on in the bathroom, we assume that the bathroom is occupied.
We created a Heroku–hosted web application that accepts periodic bathroom state updates from the Raspberry Pi and handles incoming requests from Twilio. When a user calls or texts the Twilio phone number, Twilio sends a request to the web app, which responds with an appropriate message to be spoken or texted to the user.
In addition to the voice/SMS interface, @gelstudios created a nice web interface for the project.
Server
Twilio
Twilio is a web–based service for sending and receiving phone calls and SMS text messages. It provides an easy–to–use API accessible via HTTP and a convenient Python package. A free trial of the service is available (which inserts small nag notices into outgoing messages). We used the Twilio Python Quickstart Tutorials as our introduction.
Heroku
Heroku is a service that provides a complete, integrated stack for hosting web applications with a range of choices in language, framework, web server and data store. We created the server application for the project in Python using the Flask microframework. The Heroku Dev Center article Getting Started with Python on Heroku is a good walkthrough for setting up Flask on Heroku.
Server Code
Full source for the web application can be found at github.com/qqrs/twilio-light-sensor-server/blob/master/run.py.
The /twilio/voice and /twilio/text routes handle requests from Twilio.
When a user calls or sends an SMS message to the phone number assigned to our account, Twilio is configured so that it will make an HTTP POST request to these routes.
When the server receives the request from Twilio, it generates an appropriate message indicating the status of the bathroom.
The message is returned to Twilio in the HTTP response and is sent to the user as either audio (by text–to–speech) or as an SMS message.
The /update route accepts sensor state updates from the remote sensor via HTTP POST.
Each request includes sensor_id and sensor_val parameters to identify
the sensor and report the current value.
Remote Sensor
Raspberry Pi
The Raspberry Pi is a single–board computer with an ARM–core processor, SD card slot, HDMI and composite video, USB, and optional Ethernet that is able to run a full distribution of Linux. Though similar ARM dev boards and single–board computers have existed for years, the Raspberry Pi was able to hit an enticing price point of $35 (with Ethernet) while still including many of the attractive features of more expensive boards.
A 5V USB power supply and an SD card with an operating system installed are required to begin using the Raspberry Pi. A good guide to getting started can be found at the elinux.org wiki. Preloaded SD cards can be purchased from several vendors or an operating system image can be loaded onto a blank SD card.
Note that it is important to have a stable power supply. Some USB 5V supplies may be inadequate.
I experienced SD card corruption several times until I bought a good supply
and set over_voltage=2 in the config.txt file as described here.
Any good supply with at least a 1.0 amp current rating should be acceptable.
Light Sensor
The light sensor is a 10k CdS photocell, interfaced to a Raspberry Pi with an analog–to–digital converter (ADC) daughterboard. The light sensor is connected to an input of the ADC in a voltage divider configuration with a 10k resistor. With illumination from overhead lighting, the resistance of the photocell drops to about 1.5k.
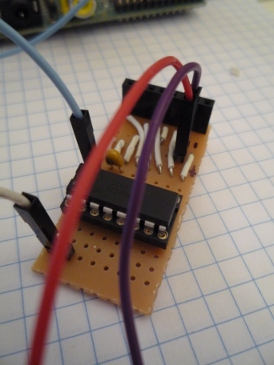
ADC Daughterboard
 An analog–to–digital converter (ADC) is required to read the signal from the light sensor.
The Raspberry Pi does not have an integrated ADC like the Arduino and many microcontroller dev boards.
However, it is straightforward to interface an external ADC via the SPI or I²C buses.
Adafruit provides a good guide to using the Microchip MCP3008:
Analog Inputs for Raspberry Pi Using the MCP3008.
I had soldered up an MCP3008 on protoboard for another project so I reused it for this project.
A number of assembled expansion boards that provide an ADC are available from third–party vendors.
Raspberry Pi Remote Sensor Monitoring Script
Adafruit provides sample code in Python to read from the ADC via the SPI bus.
Full source for the remote sensor monitoring script can be found at github.com/qqrs/twilio-light-sensor-remote/blob/master/twilio_light_sensor.py.
The monitoring script consists of a polling loop that reads the sensor at a defined interval.
It calls readadc(), a function provided by Adafruit that bit–bangs the SPI communication in software (some versions of the Raspberry Pi did not include hardware SPI).
Sensor state is determined by comparing the ADC value to a fixed threshold: if greater than the threshold, the light is assumed to be on.
A moving average is used as a basic low–pass filter to prevent a noisy read from being interpreted as a change in state.
The sensor state is reported to the server via an HTTP POST request by update_server_state() whenever the sensor state changes, or at least every 60 seconds when it has not changed.
To run the script, Python packages must be installed. See the Adafruit article
here
on installing python-dev and rpi.gpio.
The script can be run at the terminal: python twilio_light_sensor.py.
To run the script automatically at boot, it can be added to the end of /etc/rc.local,
immediately before the exit 0 line:
python /home/pi/twilio_light_sensor/twilio_light_sensor.py &
(modifying the path to script if necessary).
Note that the trailing ampersand & is required. This forks a subshell and allows the rest of the init sequence to complete.
The script can be stopped by switching to another tty with Ctrl–Alt–F2, logging in, finding the process ID with ps aux | grep twilio, and killing the process with kill <pid>.
Success
With the server running on Heroku and the light sensor attached to the Raspberry Pi, Twilio responds to text messages or voice calls: The bathroom is vacant or The bathroom is occupied. Success!

